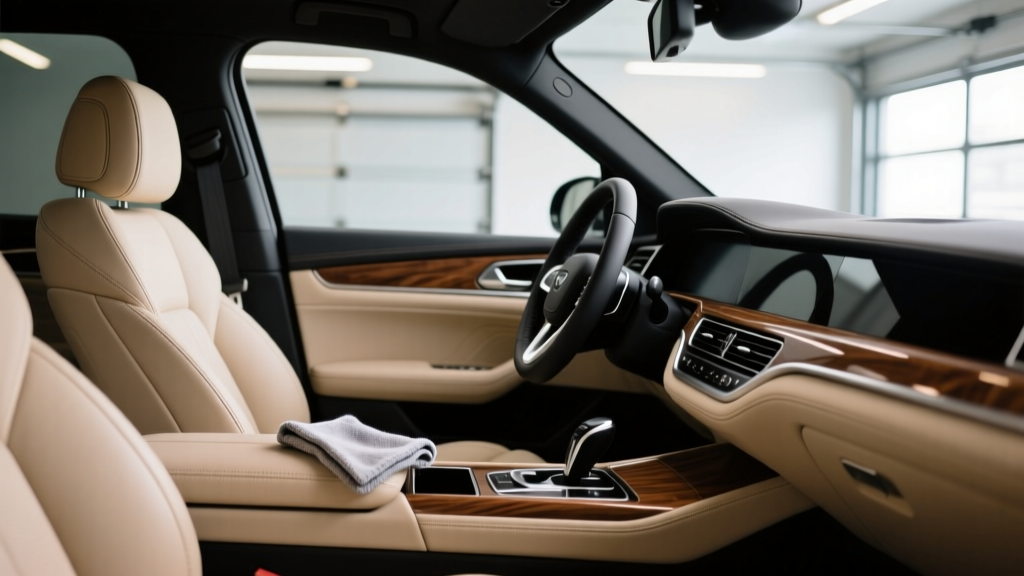
Effective Detailing Strategy - CarInteriorMix
Effective Detailing Strategy: Practical Tips That Actually Fit Real Life
Most ?full detail? guides assume you?ve got a whole Saturday, a garage, and a shelf of pro-grade products. Real life is different. You?ve got crumbs in the seat rails, pollen on the dash, and maybe a mystery spot on the carpet?plus about 45 minutes before you need the car again.
This effective detailing strategy is built for everyday car owners who want quick wins and long-lasting results. The goal isn?t perfection; it?s a clean, fresh interior and exterior using smart sequencing, the right tools, and a few habits that keep grime from piling up.
-
1) Detail in the right order: dry first, wet last
Start with dry steps (trash, vacuuming, brushing) before you introduce any liquids. If you wipe with cleaner first, you?ll turn dust into mud and push grit into seams. A simple flow: remove clutter ? vacuum ? brush cracks ? wipe surfaces ? treat stains ? finish with glass.
Example: If you spray an all-purpose cleaner on a dusty center console first, you?ll end up with gray streaks around buttons and cupholders that take longer to fix than doing a quick dry wipe/vac first.
-
2) Build a 10-minute ?reset kit? to stop messes from snowballing
Keep a small kit in the trunk: a microfiber towel, a pack of interior-safe wipes, a small trash bag, and a travel-size glass cleaner. Add a soft detailing brush (makeup brush works) for vents and seams. This keeps your car interior detailing from becoming a once-a-year ordeal.
Product/DIY: Meguiar?s Quik Interior Detailer wipes are easy; DIY option is a damp microfiber with a couple drops of gentle dish soap for quick spot wipes (avoid soaking electronics).
-
3) Use two vac tools most people skip: crevice + brush
The crevice tool pulls sand out of seat rails, door pockets, and between the console and seat. A vacuum brush attachment (or a stiff interior detailing brush used while vacuuming) lifts pet hair and grit without grinding it deeper. Move seats all the way forward and back to expose the ?hidden zone? under the tracks.
Example: If your car still smells ?dusty? after cleaning, it?s often old crumbs and dirt trapped under the front seats?especially if kids ride back there.
-
4) De-gunk cupholders and sticky buttons with controlled moisture
For cupholders, spray cleaner onto a microfiber?not directly into the holder?then twist and wipe. Use cotton swabs or a soft brush around buttons, window switches, and steering wheel seams. Keep liquid away from switch openings to avoid electrical issues.
Product/DIY: P&S Xpress Interior Cleaner works well for interiors; DIY option is warm water with a tiny amount of mild soap on a cloth, followed by a dry towel.
-
5) Treat stains like a pro: blot, don?t scrub (especially on fabric)
For carpet and cloth seats, blot spills immediately and work from the outside of the stain inward to prevent spreading. Use a dedicated fabric cleaner and a soft upholstery brush, then extract with a wet/dry vac or press with clean towels. Scrubbing aggressively can fuzz the fabric and make the area look worse.
Example: Coffee on light carpet: blot first, then use a foaming upholstery cleaner like Turtle Wax Power Out, agitate gently, and pull moisture out with towels. Finish by leaving windows cracked to dry fully so you don?t trap odor.
-
6) Leather and ?leatherette? need different approaches?don?t over-condition
Many modern ?leather? seats are coated or synthetic. They usually need cleaning more than heavy conditioning, which can leave a slippery residue. Use a dedicated leather cleaner (or a mild interior cleaner) and finish with a water-based UV protectant for a factory-matte look.
Product/DIY: Chemical Guys Leather Cleaner is simple; for UV protection, 303 Aerospace Protectant is popular. Safety note: avoid greasy dressings on steering wheels, pedals, or seat bolsters?slippery surfaces can be dangerous.
-
7) Get streak-free glass by changing your method, not buying five cleaners
Clean glass last, after interior wipes, so you?re not re-depositing overspray haze. Use two microfiber towels: one to clean, one to buff. For inside windshields, wipe in one direction (horizontal) and outside in the other (vertical) so you know where streaks are coming from.
Product/DIY: Invisible Glass is a solid pick. DIY option: a 50/50 mix of distilled water and isopropyl alcohol (70%) works well?just don?t soak tinted windows and avoid ammonia-based cleaners on tint.
-
8) Exterior wash strategy: pre-rinse, then two-bucket (or rinseless) to avoid swirls
Swirl marks come from rubbing dirt across paint. Pre-rinse thoroughly, then use the two-bucket method (one wash, one rinse) with a grit guard if you can. If you?re short on time or live in an apartment, a rinseless wash like ONR (Optimum No Rinse) is fast and paint-safe when used with plush microfiber towels.
Example: If your black hood looks ?hazy? in sunlight, it?s often from quick driveway washes with one sponge and one bucket. Switching to rinseless with multiple towels can dramatically reduce new scratches.
-
9) Use tire dressing sparingly to avoid sling and protect your paint
Clean tires first with a dedicated tire cleaner or all-purpose cleaner and a stiff tire brush?this removes the browning that dressing can?t hide. Apply dressing to an applicator pad, not directly to the tire, and wipe off excess. Over-application causes ?sling? that spots your doors and quarter panels.
Product/DIY: CarPro PERL (diluted) gives a clean satin finish. Safety note: never dress the tire tread?keep it on the sidewall only.
-
10) Lock in results with quick protection: spray sealant beats ?wax day?
Paint protection doesn?t have to be a full wax job. After washing, use a spray sealant or ceramic spray for quick gloss and easier future cleaning?especially during bug season and winter grime. A light coat every few washes is a realistic car detailing routine that keeps your finish looking fresh.
Product/DIY: Turtle Wax Hybrid Solutions Ceramic Spray is beginner-friendly. For a quick boost, many drying aids (spray + towel while drying) add slickness with almost zero extra time.
-
11) Work in shade and cool surfaces?your products will behave better
Heat makes cleaners evaporate too fast, which leads to streaks on glass and spotting on paint. If you can?t find shade, detail early morning or late afternoon and do one panel at a time. Keep doors open when cleaning the interior on hot days so fumes don?t build up.
Example: Spraying glass cleaner on a hot windshield often dries before you wipe, leaving a foggy film. Moving to the shady side of the car fixes it instantly.
Quick Reference Summary
- Dry steps first (trash, vacuum, brushes), wet steps later (wipes, cleaners).
- Keep a small ?reset kit? in the car for weekly touch-ups.
- Vacuum seat rails, under seats, and seams with crevice + brush.
- Control moisture around buttons and electronics?spray towels, not switches.
- Blot fabric stains; don?t scrub carpet into a fuzzy mess.
- Use matte UV protection on interiors; avoid slippery dressings on controls.
- Two-towel glass method; avoid ammonia on tinted windows.
- Wash paint safely: pre-rinse + two-bucket or rinseless with multiple towels.
- Clean tires before dressing; apply thin to prevent sling.
- Spray sealants make protection realistic and repeatable.
Wrap-Up
An effective detailing strategy is less about having the fanciest products and more about doing the right steps in the right order?without creating extra work. Try a couple of these tips on your next clean (start with the dry-first order and the two-towel glass method), and you?ll notice your car stays cleaner longer with way less effort.